

How to Properly Light Fine Art Photography in Your Home
Sep 12, 2026
A photograph can look inviting during the day and disappear into the wall after dinner. A bright lamp may bring out its color, yet also leave a reflection that hides the detail you wanted to enjoy. Learning how to light fine art photography starts with the room, the surface of the print, and the places from which you actually view it.
The aim is comfortable visibility: enough light to appreciate the image, distributed in a way that lets your attention stay with the photograph.
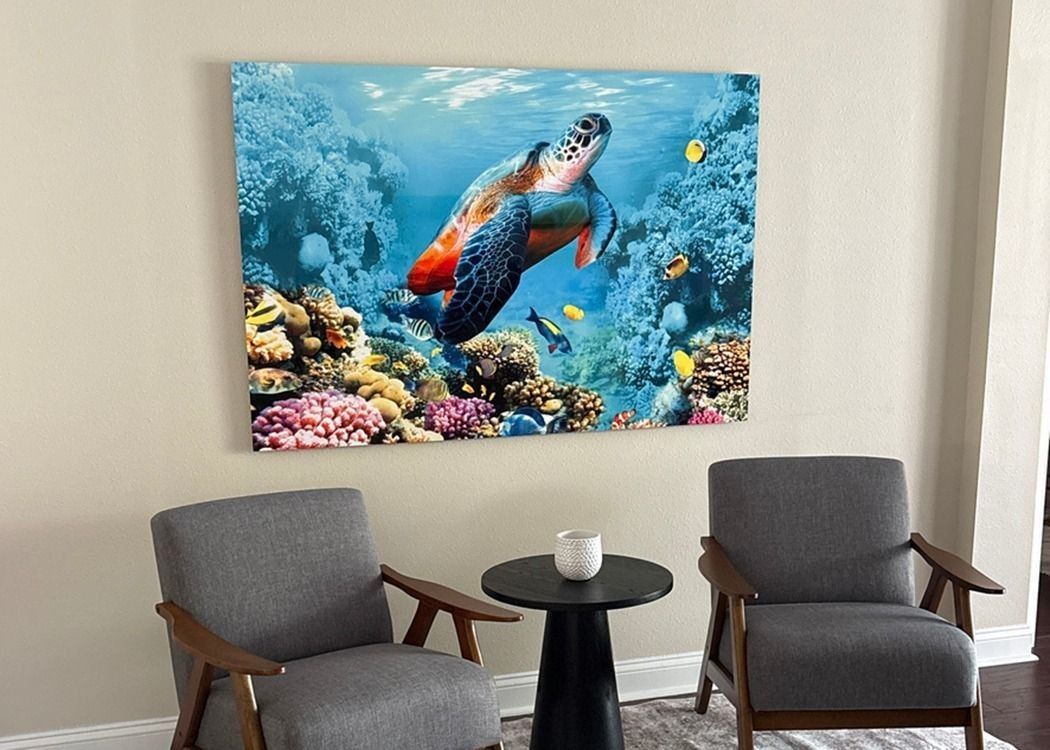
An interior display from the Artistic Creationz Collector Gallery.
Start with the room you actually use
Look at your photograph in the morning, afternoon, and evening. Then view it from the sofa, a favorite chair, and the doorway. Notice when the image looks clear and when a window or lamp appears as a bright patch on its surface.
Make a simple note of what needs improvement. Is the entire print too dim? Is one corner bright while the other is lost? Does a reflection appear only from a particular seat? Each observation gives you a more useful starting point than choosing a brighter bulb automatically.
If you are still selecting the artwork itself, our guide to choosing fine art photography for your home covers that earlier step.
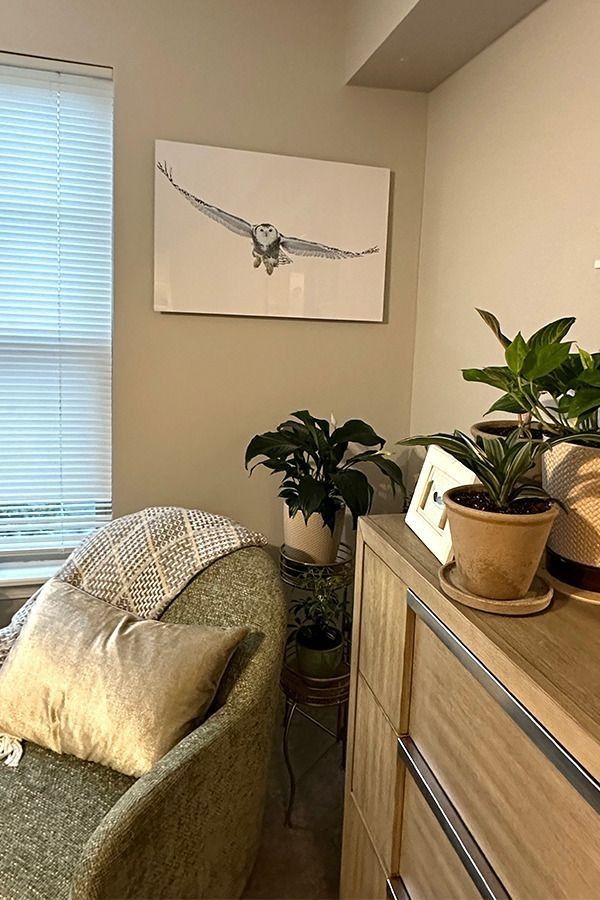
An owl photograph displayed in a home, from the Artistic Creationz Collector Gallery.
Choose a fixture you can aim
An adjustable ceiling spotlight or track head gives you control over where the light falls. A picture light may suit another setting, but check whether it reaches the whole photograph evenly. A wide print needs coverage across its width, not just a bright center.
For overhead lighting, approximately 30 degrees away from vertical is a useful starting angle toward the artwork. This corresponds to the 60-degree angle from horizontal described in the Canadian Conservation Institute's track-lighting guidance.
Treat that as a starting point. Adjust the aim for your ceiling, frame, print surface, and normal viewing position. Check for a shadow from the frame along the top edge.
Pay attention to color quality
LED bulbs vary in how faithfully they show colors. Look for a color rendering index, or CRI, of 90 or higher as a practical starting point, and compare bulbs with the actual photograph. CRI is useful, but it does not tell the entire story of light quality; the Canadian Conservation Institute's LED lighting guide explains why lamp selection deserves more than a brightness comparison.
Try a warm white light around 2700–3000 K as one option for a living space, then compare it with a more neutral option. Color temperature is a preference to test with your room and artwork, not a universal quality rating. The Institute's guide to light and color likewise recommends testing before choosing a color temperature.
Reduce reflections before increasing brightness
If you see the bulb or window reflected in the print, adding more light may make the distraction stronger. Change the fixture's direction, reduce a competing lamp, or adjust the blinds and check the result from your usual seat.
For glossy photography, include a sideways viewing check as well as a straight-on one. A setup that looks clear from the doorway may reflect a lamp when you sit down.
Work on one change at a time. Keep the adjustments that reveal detail without creating a bright patch, then reassess the whole image. A dimmable fixture can help you find a comfortable balance with the room's other lighting.
Keep daylight and exposure in mind
Avoid a position where strong direct sunlight repeatedly strikes the photograph. Blinds or curtains can help control changing daylight. For material-specific placement guidance, read our metal print care and display guide.
Turn dedicated art lights off when they are not being used. Light exposure accumulates, and using LEDs does not make an artwork immune to fading. The Canadian Conservation Institute recommends limiting unnecessary exposure in its guidance on caring for paper objects. Follow the care advice for your particular print material.
Finish with an everyday viewing check
Once the lighting is adjusted, spend a few minutes enjoying the photograph from the place you normally relax. Look across the whole image, including its darker areas. The light should help you see the photograph without becoming the first thing you notice.
Revisit the setup after dark and on a bright day. Small adjustments may be all you need as the room's light changes.
Explore the Artistic Creationz photography galleries for your next piece, or contact us with questions about displaying an Artistic Creationz photograph in your home.